Come and get it! Come and get your flour and butter sandwiches ?
Little did I know that my first attempt at cooking was an utter failure. The motivation for my first culinary creation was well founded, but whatever possessed me to make a flour and butter sandwich still baffles me. My loving parents graciously accepted their snack with such enthusiasm and smiles on their faces that I was instantly encouraged to spend more time in the kitchen inventing “recipes” and my love for cooking and all things food was born.
I can thankfully say that I never attempted that flour, butter and bread combo again, but that excitement and sense of accomplishment in the kitchen at a young age stuck with me and fostered a passion for cuisine and cooking.
I thought it was fitting for my first post to redeem my first attempt at making a sandwich. For someone who sits in front of a computer almost all day, I love to eat healthy fresh foods that I know are good for me and won’t pack on too many calories. This thyme chicken and asparagus ribbon Panini is an easy way to fill you up and can be modified with whatever veggies you have on hand.

What you’ll need:
1 loaf of your favorite easy to slice bread
1 lb chicken breasts
5 tbsp olive oil, divided
1/3 cup white wine (I used Chardonnay)
10 springs thyme
salt and pepper
4-6 cloves garlic; 1 whole head garlic
2 red bell peppers, sliced thin
1 bunch asparagus
1 cup arugula (or your other favorite greens)
Goat cheese
Before you even touch your ingredients, pre-heat the oven to 375 degrees.
Ok, let’s start with the chicken. If you have thick chicken breasts, make sure to tenderize them and even out the meat with a tenderizing (meat) mallet before you marinate them. Crush 4-6 cloves of fresh garlic and rub on the chicken breasts. Place the chicken into a large, ziplock bag and add in the 3 tbsp of olive oil, wine, thyme, salt and pepper. Let sit for 20-40 minutes.
In the mean time, we are going to make garlic paste! This may sound intimidating, but it’s so easy and can be used for many dishes that call for garlic. Take a whole head of garlic and cut off the pointed tip to reveal all of the inner cloves. Gently peel off the outer layers of skin and place the head of garlic on a large piece of heavy duty foil in a small pan. (I use a mini round cake pan, or if the head of garlic is small try a cupcake pan.) Fold the foil up around the garlic, but do not pinch it closed. Drizzle 1-2 tbsp of olive oil directly on top of the garlic, then seal the foil tightly around the garlic. Place in the 375 degree oven for 30 minutes. Remove from the oven and let cool. Once cool enough to handle, gently press from the root of the head of garlic to the tips squeezing out the roasted cloves. Scoop the roasted cloves into a small dish and give a little mash with the back of a spoon. Voila! Garlic paste.
While the garlic is in the oven, you can blanch the asparagus. Fill a pot with water and bring to a boil. Grab a clean medium sized bowl and fill it with a water (enough to cover the asparagus later) and a few ice cubes. Clean and trim off the rough ends of the asparagus. Once you have the water at a gentle boil, drop your asparagus sprigs into the pot and cook for no more than 2 minutes. Have you ever had to eat soggy asparagus before? And our parents didn’t understand why we refused to eat our veggies- yuck! Thankfully blanching solves that problem J Using tongs remove the now beautifully vibrant green asparagus and place in the ice bath. This will stop the cooking. Soggy asparagus safely avoided. After a couple minutes remove the asparagus and place on a paper towel.
Now here comes the fund part- time to ribbon the asparagus. This part is a little tricky, but you have an entire bunch of asparagus to experiment on, so don’t worry. Lay an asparagus spear on a cutting board and using a vegetable peeler make a firm swoop from the head of the spear moving your peeler down the stalk of the asparagus. This should give you a thin ribbon of the stalk. Repeat until the stalk becomes too thin to shave any more (make sure to flip sides somewhere in the middle) and then grab another spear. Set ribbons aside.


Heat a skillet or grill pan on medium heat and coat with a dab of olive oil. Place the chicken on the pan for roughly 4 minutes on each side (depending on how thick the chicken is it might take up to 6 minutes). I have to share a fool proof technique that a friend taught me long ago. Now who wants to cut into a beautiful piece of meat to tell when it’s done? No thank you. Flip your hand over so you can see your plam and using the ring finger of your other hand gently press the cushy part where your thumb is adjoined to your hand. If your meat feels like that, it’s rare. Now move your way diagonally down your hand towards your wrist. Feel how your skin becomes more firm? Somewhere in the middle there indicates medium and just before you meet your wrist is how the meat should feel when it’s well-done. Pretty neat, huh? I was blown away the first time I tried this and realized it really worked. So once your chicken feels firm, remove it from the heat and let it rest before thinly slicing.
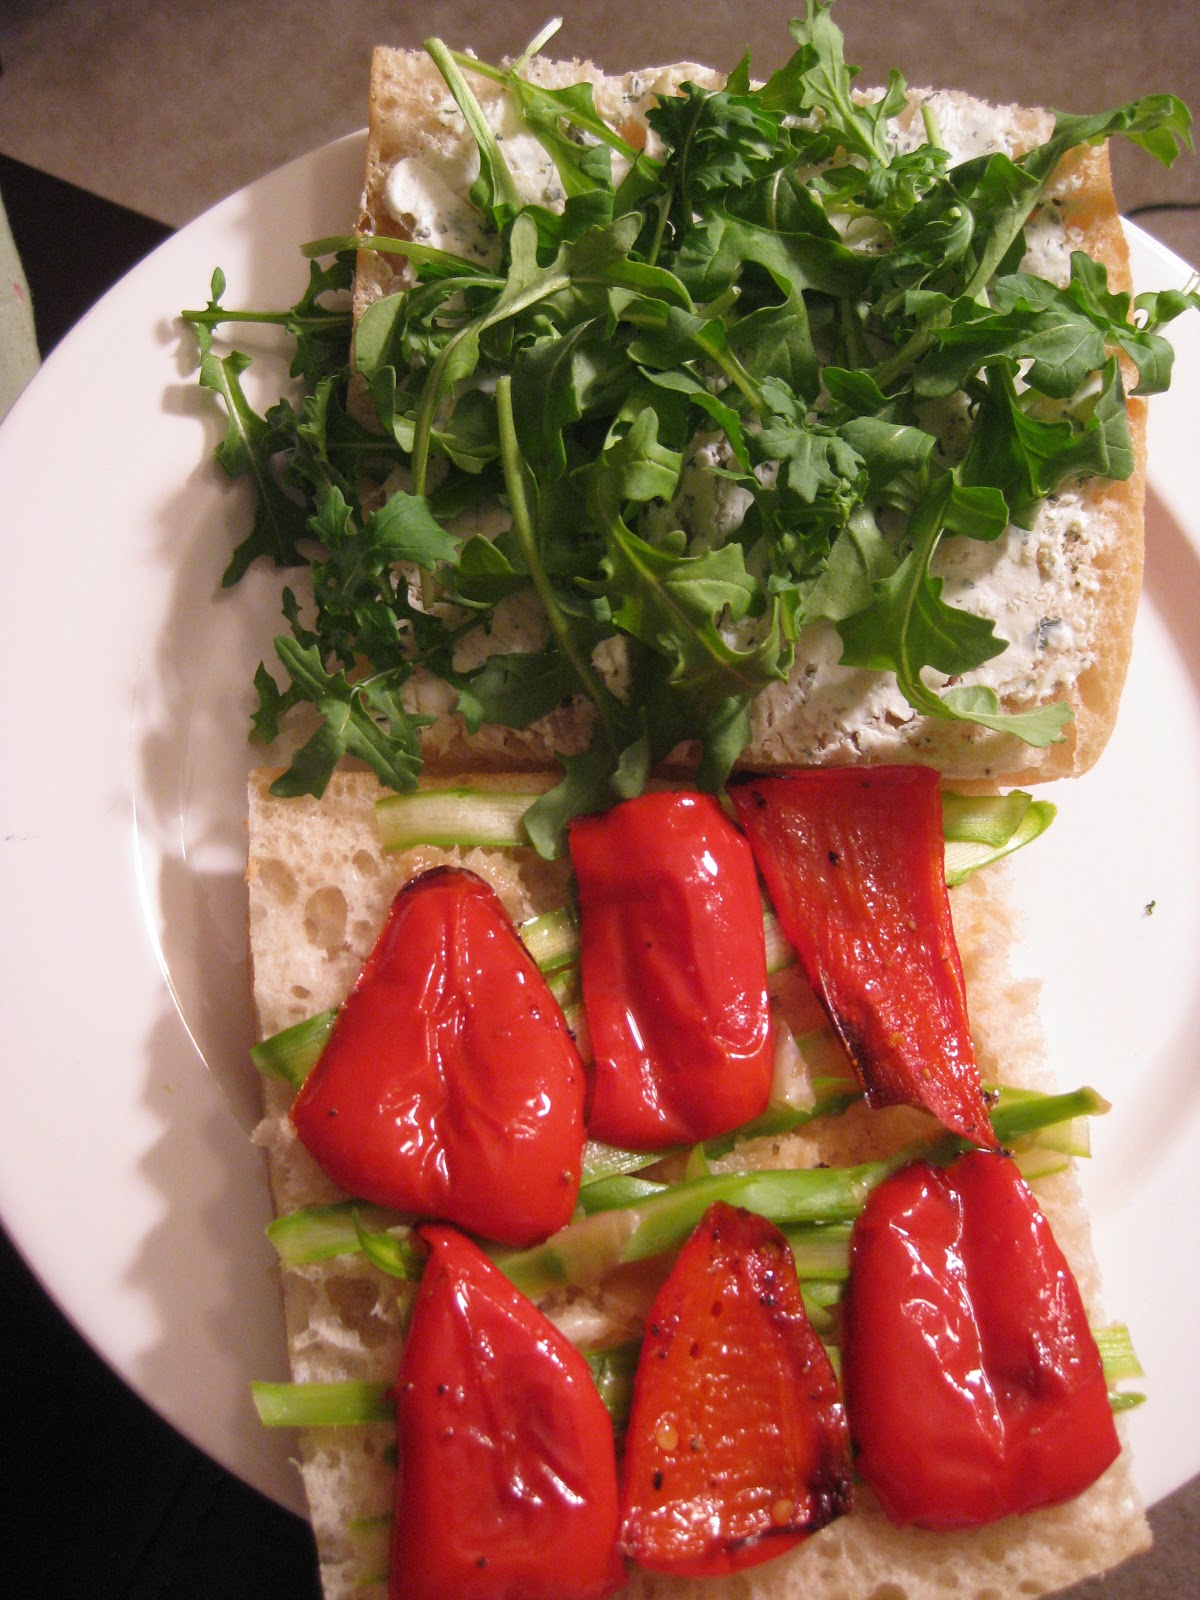
Now slice your favorite bread, I like the flax-seed ciabata from Trader Joe’s which is high in fiber and low in fat. Spread one side of the bread with your goat cheese and the other side with garlic. I will heap the garlic on, but use your discretion depending on how far you would like people to stay away from you the rest of the day.
Layer the asparagus ribbons, sliced red peppers, arugula and chicken on the bread. If you have a Panini press place the sandwich on the press. If not, place the sandwich in the 375 degree oven until warm. Enjoy alone or with a light salad. And don’t forget you still have the rest of the Chardonnay ;)
No comments:
Post a Comment