Happy New Year! In my first full post of 2013, and a long overdue
one at that, I want to share a dish that is perfect for nearly any occasion.
This favorite recipe of mine satiates any crowd from holiday party goers to
dinner guests to potluck attendees to wine night enthusiasts to Superbowl
viewers (go 49ers!), these petite paquets or little packages can be served as appetizers, side dishes, or savory
brunch pastries. This is a truly
versatile recipe that you should always have on hand.
Best yet, for all of us who promise to strive to stay
healthy this year, my petite paquets are packed with vitamins and low in fat.
The leafy greens and apples in this recipe add vitamins A, C, and K to your
diet, while their high fiber content will fill you up. This dish leaves your taste buds
satisfied and doesn’t require stretchy pants!
 |
| Petite paquets on a bed of spinach for a mid afternoon snack |
Petite Paquets with Greens and Apples
1 medium brown onion, diced
2 cloves garlic, minced
3 tbsp olive oil
3 medium apples (I prefer Braeburn), diced
4 stalks celery, diced
6 cups baby spinach
3 cups kale, chopped with stems removed
1 ½ tsp butter, melted
½ cup spiced walnuts, finely chopped (recipe follows)
The day before making this recipe remove phyllo (or, fillo)
dough from the freezer and place in your refrigerator unopened to defrost.
Preheat oven to 400° F. Remove
phyllo dough from refrigerator and let stand at room temperature while you’re
making the filling. I must digress
here for a moment while we’re on the topic of phyllo dough. I’m half Armenian
and when I was a little girl my grandmother would spend hours making the most
delicious pastry desserts called baklava. When I would visit during her
Armenian baklava (there a many different varieties of baklava) making escapades
I would help her carefully layer the thin dough with a sweet mixture made
predominantly of walnut, cinnamon, and orange flower water. It was such a treat
to help with the process to create these tiny, but elaborate desserts, and
enjoy the melt in your mouth pastries after all that hard work! As I grew up
and remembered how much I loved phyllo dough in those desserts I started using
it in other recipes. I became even more intrigued by it once I learned how low
in fat and calories it is relative to other pastry or pie dough. I encourage
you to compare the nutrition facts on the box to other pastry dough! Now that I’ve whet your appetite and
calmed your health conscious fears, back to the recipe.
In a large sauté pan (6 qt is preferable, but 4qt will
work), heat the onion garlic and olive oil over medium heat until onions begin
to soften. Add in celery and
apples and cook over medium heat for 5 minutes. Working in batches, mix in the kale and allow it to wilt
slightly before adding in the spinach. Reduce heat to low and let the greens
cook down for about 5 minutes.
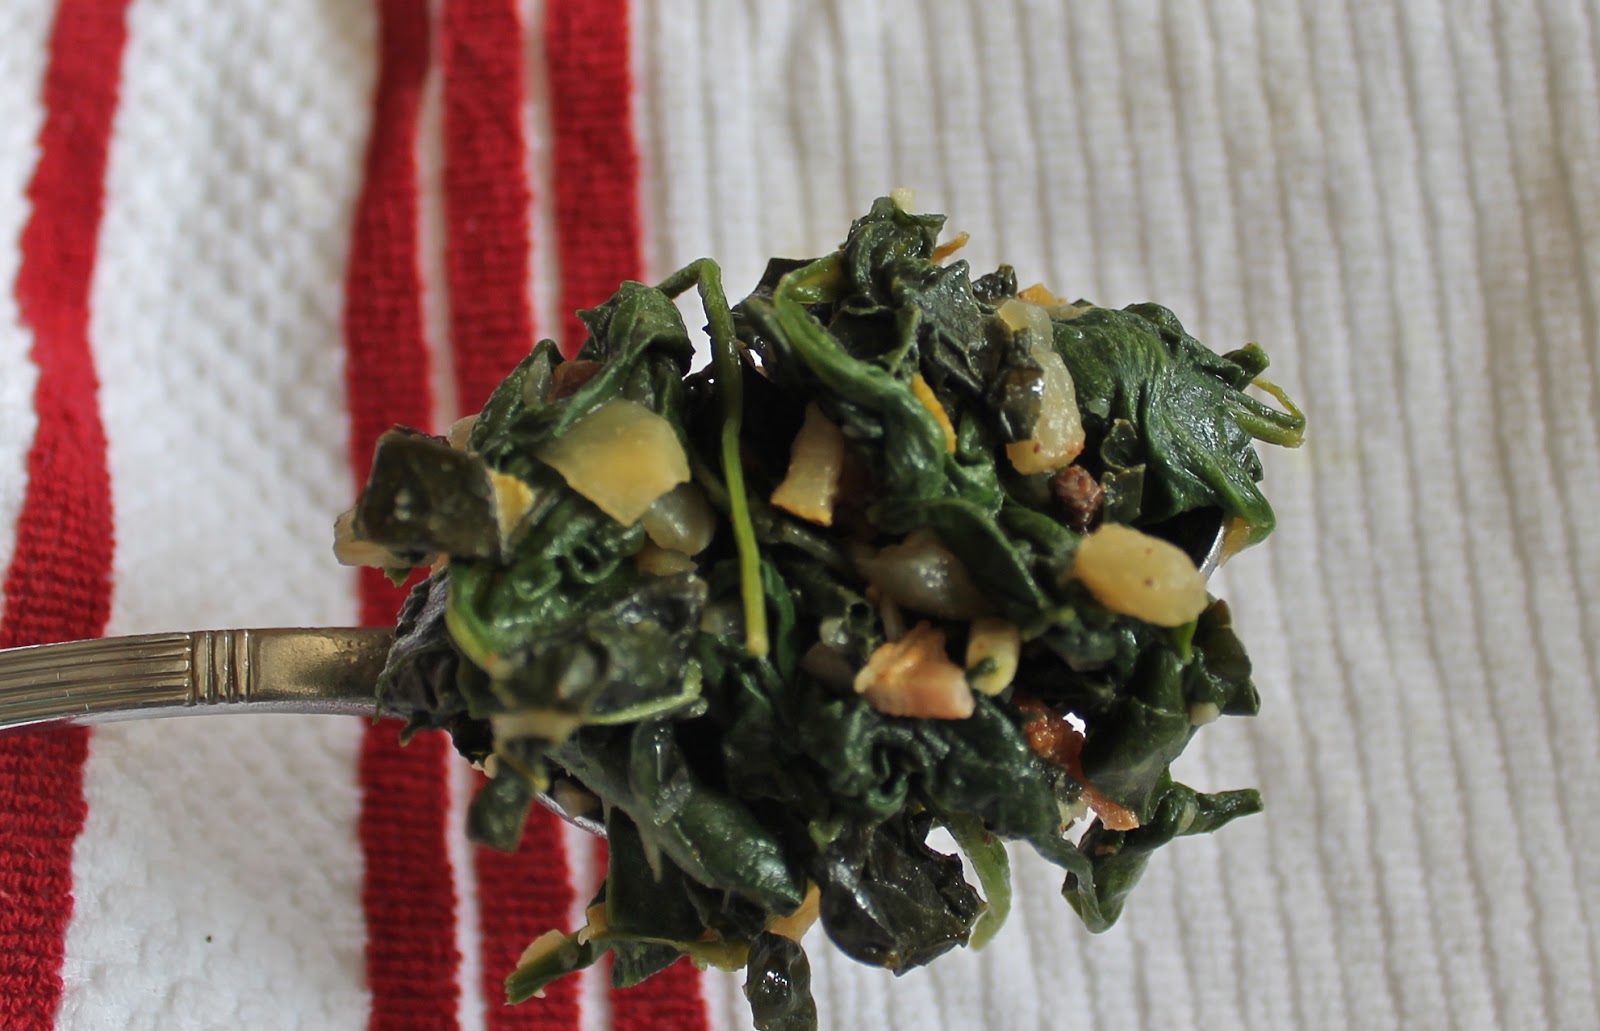 |
| Delicious and healthy greens! |
While the filling is cooking down, lightly and I mean lightly
– think like you’re trying to pet a butterfly – brush the cups of a muffin pan
with butter. You don’t want to add too much butter or the paquets will be soggy;
you should have melted butter leftover.
Carefully unroll the thawed phyllo dough. If you find the
dough difficult to unroll take a slightly damp tea towel and wrap it around the
dough for approximately 15 minutes. Taking 4 sheets of phyllo at a time (layered
on top of one another) place them on a dry cutting board and using a sharp knife
cut into 5”x 6” rectangles. Lay the rectangles into each muffin cup and repeat
until you have filled the muffin tin. Note:
the filling of this recipe will make 24
individual paquets when using a standard muffin tin.
Once the filling has cooked down, fill each of the muffin
tin cups with the greens mixture. Sprinkle desired amount of spiced walnuts on
top of the mixture. For those of you who want to take these to the next level
of decadent, crumble some bacon on top of the paquets along with the walnuts!
Carefully bring all 4 corners of the dough into the center, but do not press
completely closed. Brush the tops of the paquets lightly with the remaining
melted butter.
Bake for 8-10 minutes, or until paquets are golden
brown. Remove from oven and let
cool for about 5 minutes before serving. The petite paquets are also delicious
cold or room temperature. This dish truly is versatile and you can incorporate
any other veggies or ingredients you have on hand. Some of my favorite
variations include adding mushrooms, leeks, or fennel, or replacing the apples
with pears! Savor sinlessly!

What other combinations would you use for the filling?
Spiced Walnuts
1 cup walnut halves
1 tsp walnut oil (olive oil will also work)
1 tsp agave syrup (or honey)
1 heaping tbsp brown sugar
Pinch of cayenne pepper
Pinch of cinnamon
½ tsp kosher salt
These spiced walnuts are even more versatile than the petite
paquets! Serve them as snacks, sprinkled on butternut squash soup, in muffins,
or on top of oatmeal. The options are really endless.
In a large skillet, heat walnut halves, oil and agave over
medium heat, stirring frequently. If the mixture appears too sticky, add a half
teaspoon of warm water. Add sugar, cayenne and salt and mix thoroughly until
the nuts are well coated and a rich brown color. For those of you with a high
heat tolerance, feel free to add a little extra cayenne. Remove from the stove
and spread into a single layer on a parchment lined cutting board or cookie
sheet.
Note: this recipe will
make more than the require amount of walnuts for the petite paquets.


